

Unpacking & Arranging Your Artificial Plant
Camellia GreenYou’ve finally made the leap into artificial greenery, hooray! Now that you’ve purchased your artificial plant, you may be wondering, now what!?! Today we’re sharing a few tips on how to carefully unpack and arrange your artificial plant so that you get that nearly natural effect.
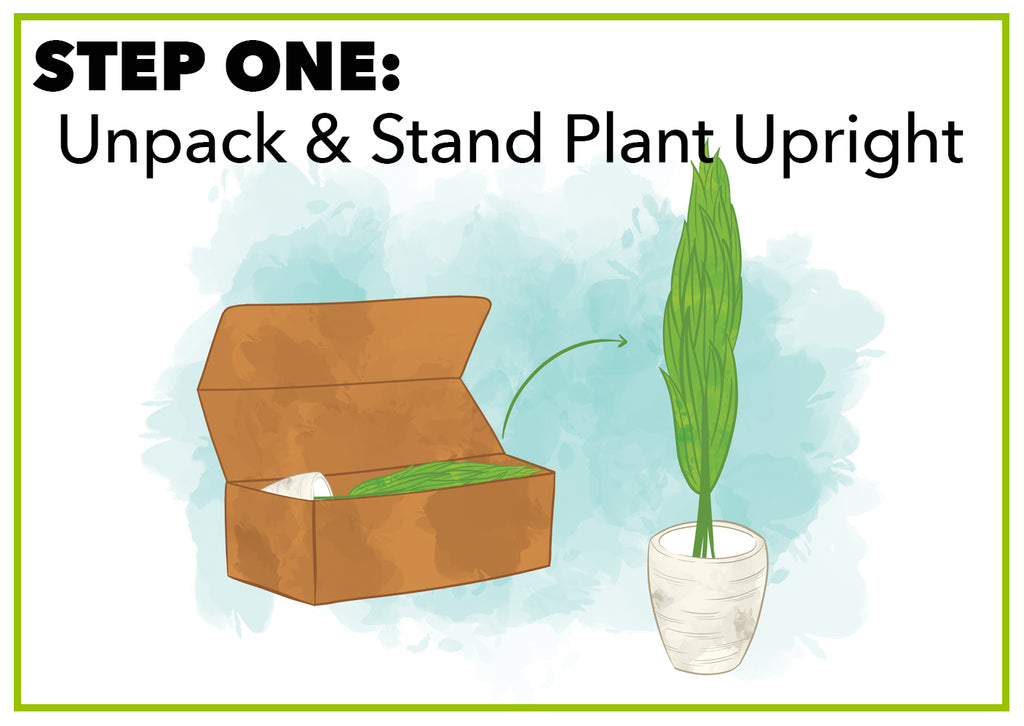
Unpack & Stand Artificial Plant Upright
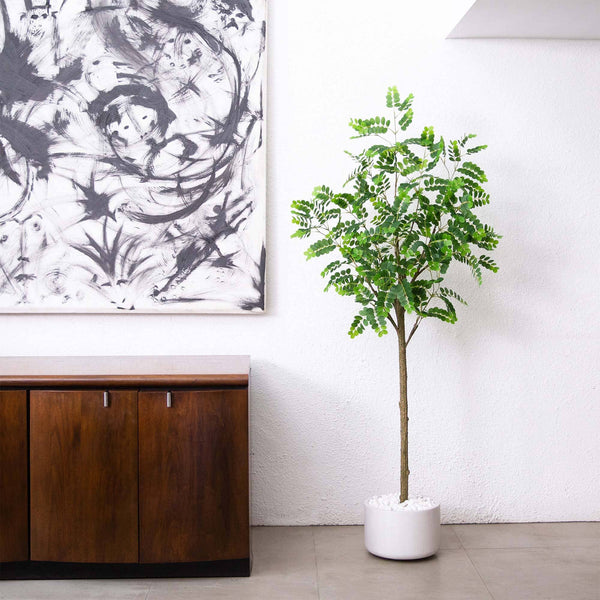
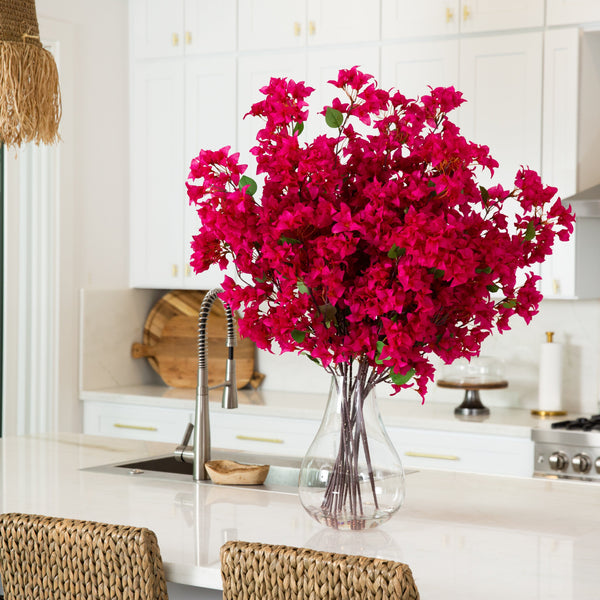
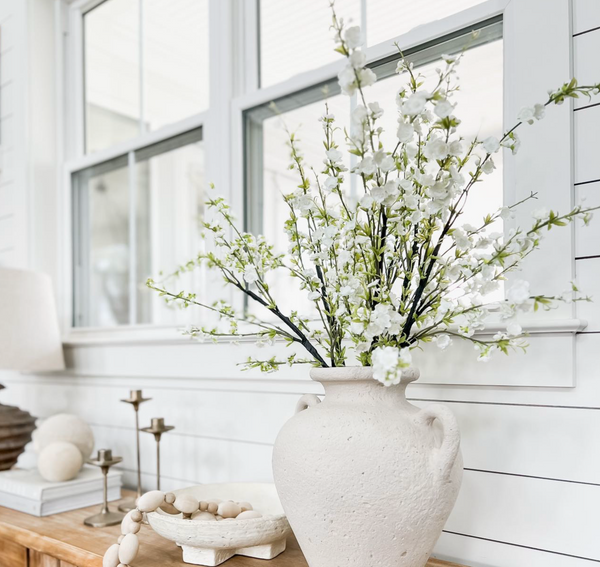
Your Nearly Natural artificial plant will come carefully packaged in a secure box. Upon arrival, wherever you have some free and open space, carefully open all the taped corners; you might need some scissors to do this, but it should easily open like a giant envelope. Inside, you will see your fake plant carefully wrapped in protective plastic. With care, gently pull out your fake plant and stand it upright on a floor or table surface.
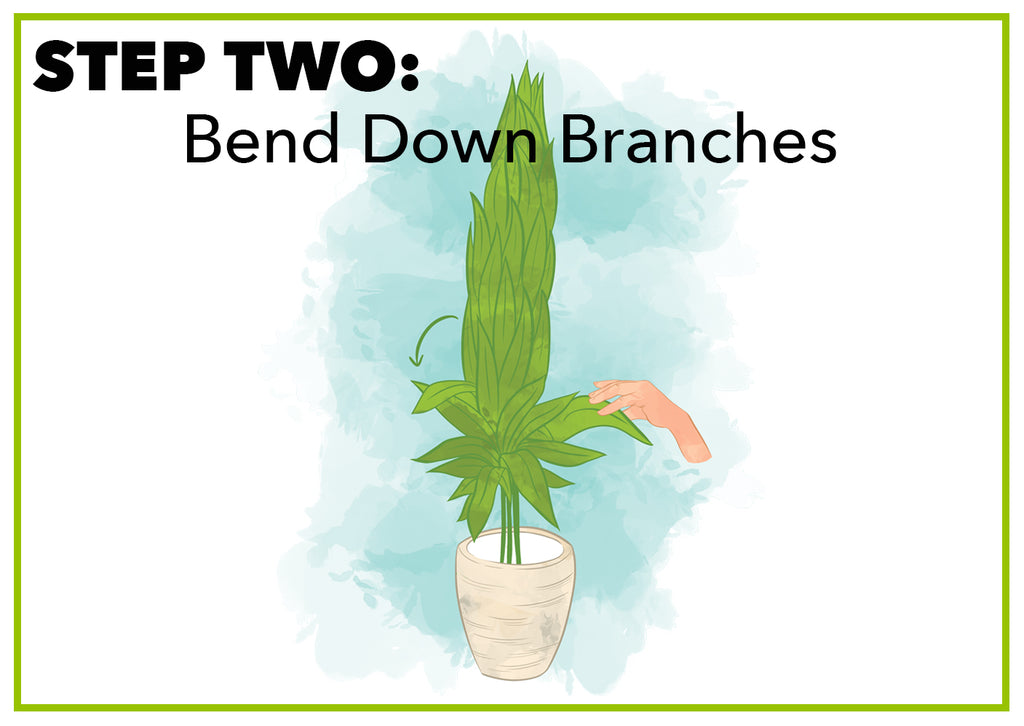
Bend Down Branches
When you first receive your artificial plant, you will notice that most of the foliage is tightly packed and folded pointed up against the stem or trunk of the plant. This is done for the protection of the product in transit. Start at the bottom, carefully pulling down each section and/or tier of greenery. Because each branch has a flexible wire hidden within the design, you can easily bend and separate branches from the trunk; do this first, one-step-at-a-time.
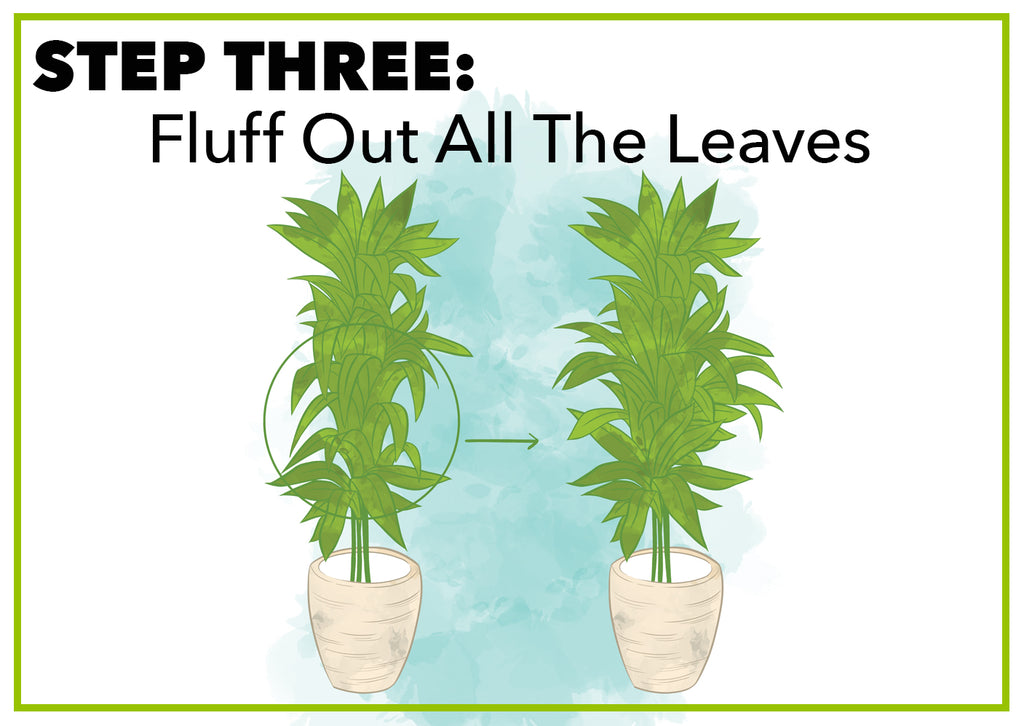
Fluff Out All The Leaves
Once you have managed to create a little breathing space by separating each of the branches away from the base stem/trunk, you can go back through each tier of foliage and begin fluffing the leaves. Bend each one back and out and they will each alternate in position and direction. As you work down the spine of each leaf with your fingers, create a slight curve - this will give your foliage a more lifelike appearance.
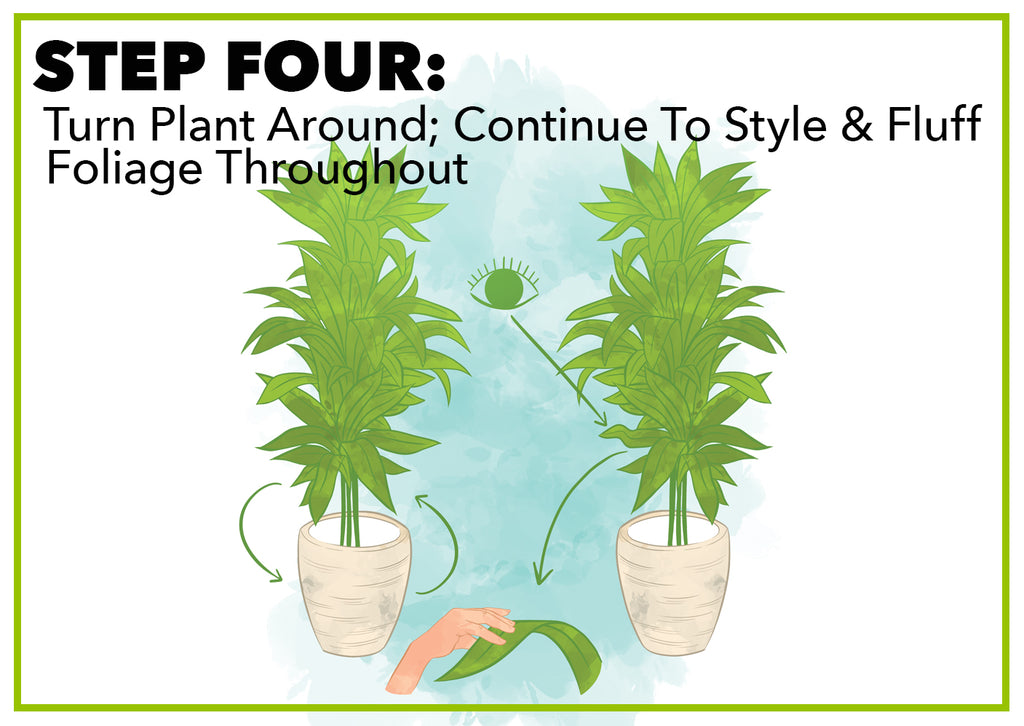
Continue To Style & Fluff Foliage Throughout
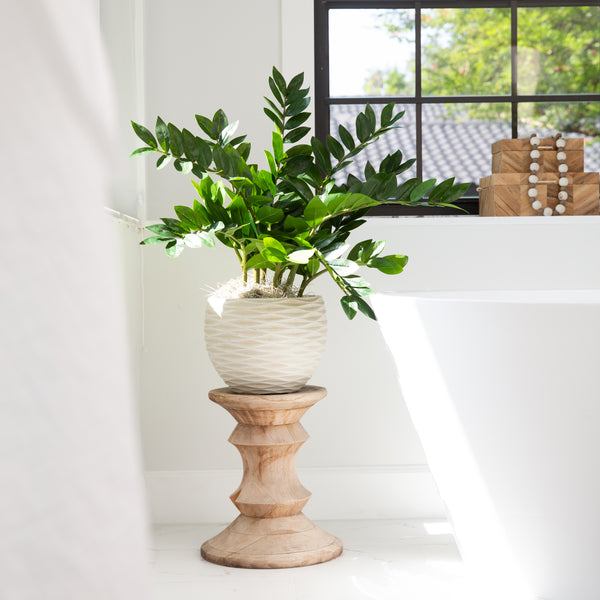
Continue your progress around your decorative plant - always from the bottom up. Remember to use your fingers to ply the leaves into shape; this will give your fake plant a sense of natural realism. Keep in mind, because living plants often have a discoloration between the top and bottom of their leaves, so do our plants reflect this! That being said, you’ll want to make sure that the leaves are positioned in a way that this naturally occurring detail looks just as natural as it does in the great outdoors. You can easily shape and arc some so that they don’t seem as “perfectly positioned” as the rest but should you feel that some are disproportionately positioned, you can easily go back and re-bend the same branch back into shape. When you’re done, take a walk around your plant and see if there’s any space that feels empty or could use a little extra fluffing.
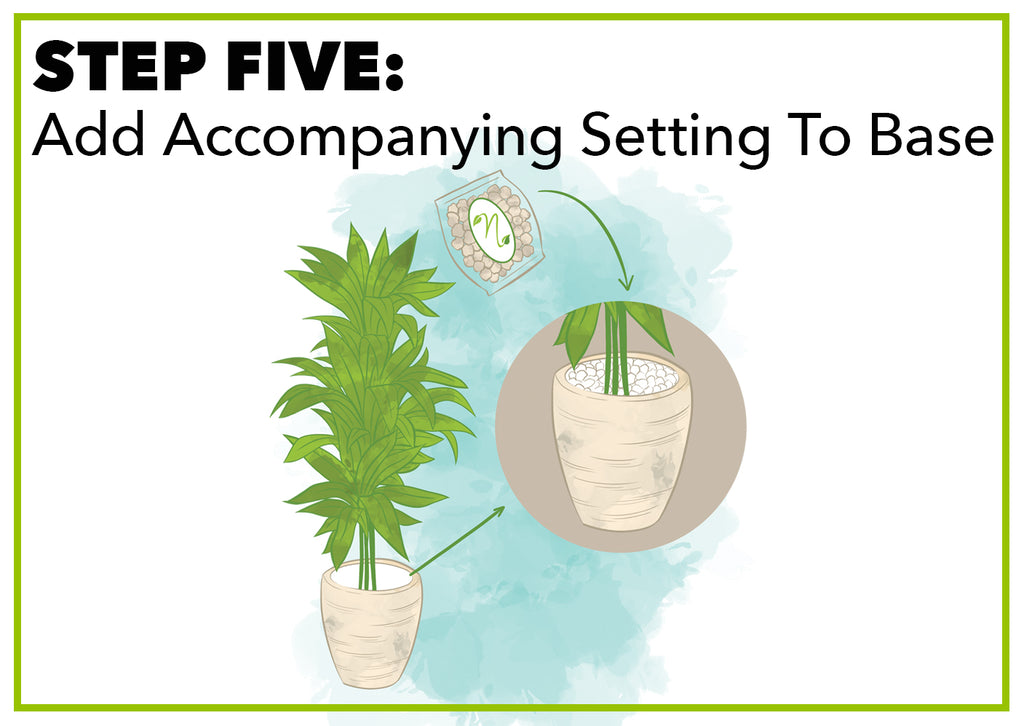
Add Accompanying Setting To Base
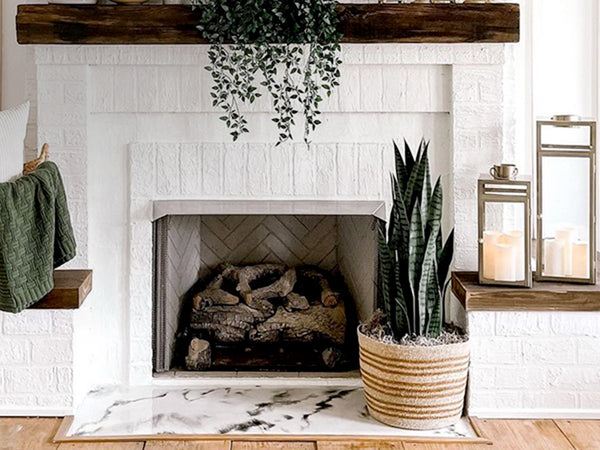
While most of our fake plants come already stabilized in an accompanying planter (or in small planters like the Bromeliad Arrangement - or any one of the artificial orchids here), we do have a selection of products that come with rocks or base setting that you will be required to add to the final look of your plant. Whether they’re white rocks, black rocks, or perhaps mixed rocks, simply open the baggie from whence it came from and gently assembled the accompanying material into the base. Carefully arrange them in a matter that feels and looks most real.
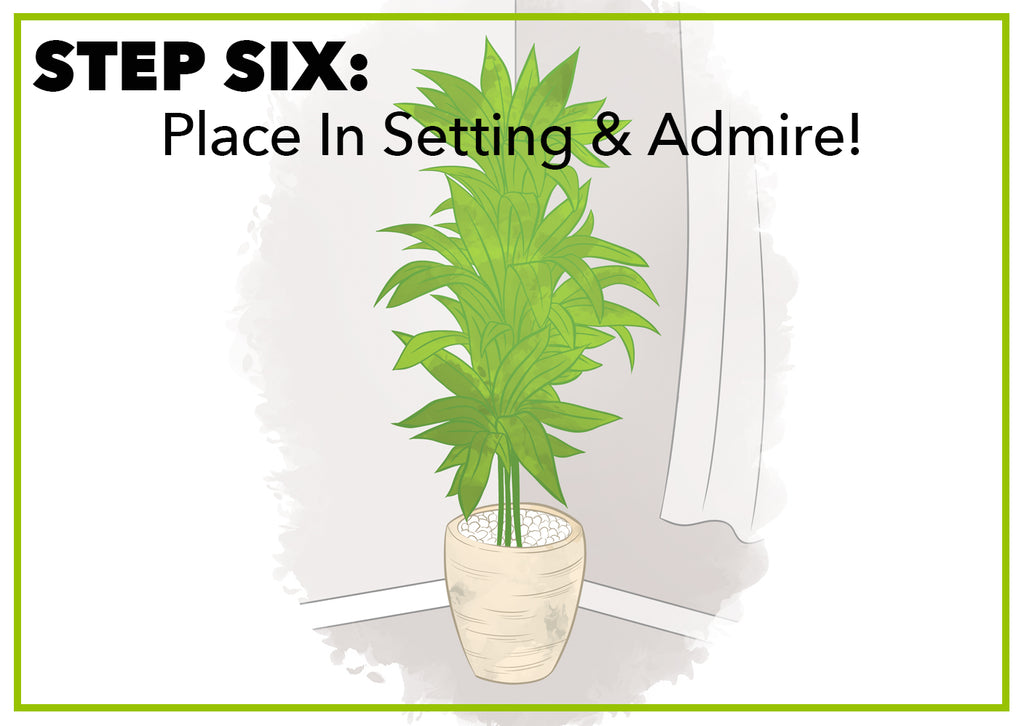
Place in Setting & Admire
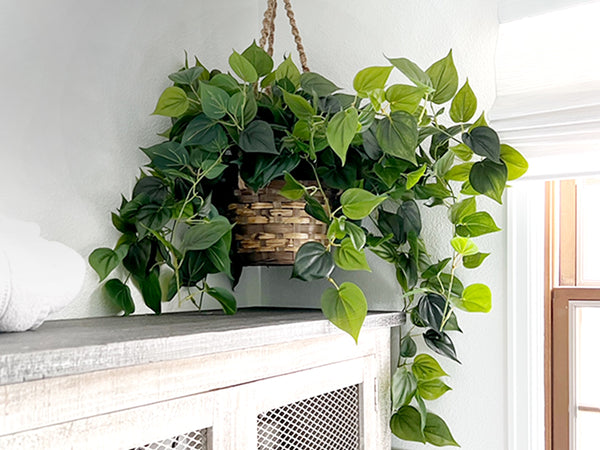
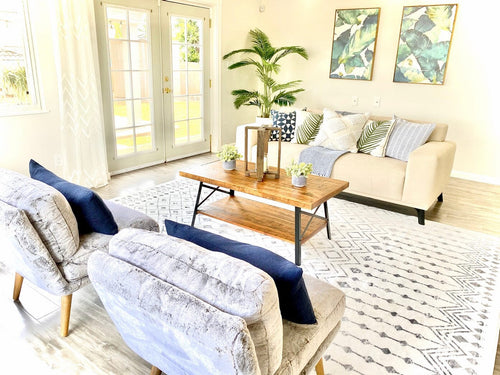
When you're happy with the look of your fake plant and have admired it from all angles, time to showcase its beauty! Set it in the desired location of your choice. Make sure to take a quick glimpse over it and re-arrange any foliage that might need tightening or breathing. Once you’re resolved that your decorative plant is perfect for displaying, it’s officially time to let others admire its nearly natural beauty.

18 comments
I ordered an orchid for a houseplant and was told it shipped. It did not and I have repeatedly asked for an update. Customer Service has not responded to my inquiries.
Do I take out styrofoam in order to put the rocks in..? I love my née bamboo but am no sure what to do with rocks.
MEGUSTAN LAS PLNTAS ARTIFICIALES ESTOY BUSCANDO UNA PARA LA SALA OK YRMA
Purchased and set up my new 7’ Areca Palm. Very beautiful. Just wanted to make sure that there was no particular order for the fronds to be inserted in the little holes. They were all the same length. The plant appears a bit “top heavy” with foliage. Any suggestions for optimizing the Areca for greater realism?
Thanks
JC
Cathy, which plant did you purchase? Please contact our support (visit our contact us page).
Linda, we’re writing a guide on how to hang artificial plants, please keep an eye out :)
Best,
Iakov F.
Marketing Specialist @ Nearly Natural