


How To Fit a Small Plant in a Big Pot
Cindy VenerioWhen it comes to artificial plants, we say, the planters are an important piece in tying the room together. If the tree is the center of attention, then the planter is the 2nd in command. In fact, choosing the correct base is just as important because you can manipulate the height of the tree easily and enhance the look by adding some height. But we understand the struggle when looking for a planter, it’s difficult to find one that suits your palette, as every space is unique, and it presents a problem when you want something unique and statement-worthy. But what about DIYing your new planter so that your small plant can fit in the pot? This is a great budget-friendly alternative for getting exactly what you desire in your space. Our interior designers with scores of experiences are here to share with you their top tips for how to do artificial plants DIY projects and DIY décor.
1. Add some boxes to the bottom of the planter
Sometimes we order the wrong-sized plants, it happens to all of us from time to time, but instead of dealing with returns and wasting time, why not choose a large base that offers you the opportunity to manipulate the height? Sometimes, during this exercise, you realize that the shorter plant was actually a great choice. This is an easy process and all you need to add are some boxes to the bottom of the planter, add more for taller trees, and less to remove some height. It’s that easy and chances are you already have boxes and other items around the house. If you don’t have boxes, consider some books too! You can test your ideal height by adding the tree on the top of the boxes, this is great so know when to stop.
2. Add filler in the planter
This is probably one of the easiest steps, once you have the ideal height, fill in the planter with paper, newspaper, or other filler you might have, this is especially useful if you have one of our baskets that need shape. You can skip this step if your planter already has a body and is shaped nicely, but it doesn’t hurt to add filler because it helps with maintaining the weight of the tree, preventing it from falling over. Think of it as a little cushion that keeps everything in place and helps stabilize your new piece. This step is important for the next part of this DIY project.
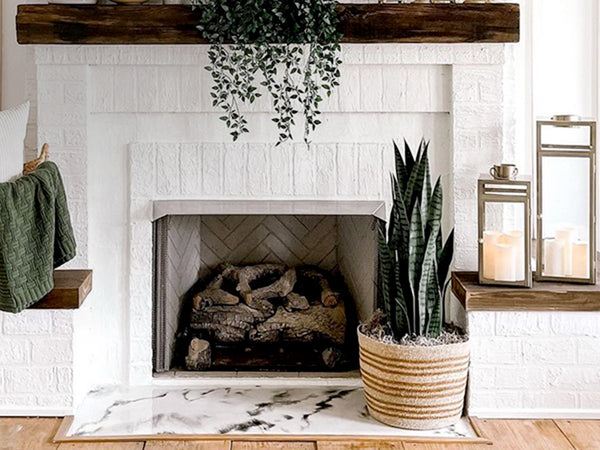
3. Fill the top with moss, rocks, or soil
One of the most telling signs that a tree is “fake” is the top portion of the planter, because natural plants thrive with water and soil, you can give the illusion of realism by adding faux moss, river rocks, or faux soil. This is why we recommend adding the filler from step #2, so it can be easier to fill the top of the planter with the décor of your choice. If you don’t add the filler, it makes it harder to decorate the top and you’ll end up using more material. To make the project easier, fill the top until the filler isn’t visible anymore, this shouldn’t take more than a few minutes to complete. Once your filler is covered, your new tree is ready to go!
4. Sit back and admire
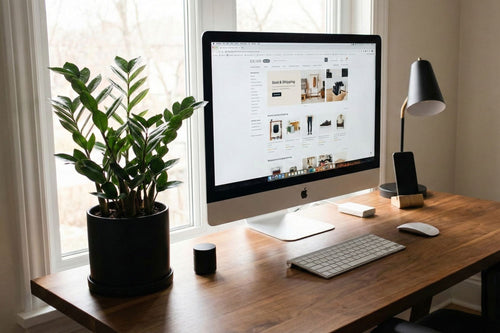
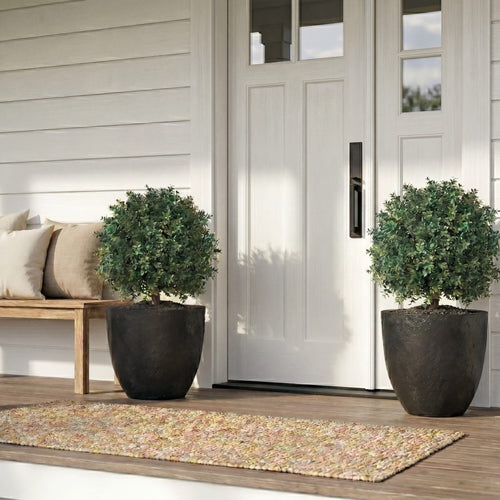
We always recommend choosing a space to which you’d like to add your new tree to before you start shopping, but we know that some things happen and people change their minds. If you’re not sure where to place your new plant, consider a corner in need of some new life or a kitchen nook. Many customers love adding faux plants to corners that receive little sunlight as these are hard to decorate for and smaller bathrooms with no windows. We guarantee these spaces will shine with your new décor accent. Now you’re ready to tackle the next DIY project easily and effortlessly, where should you place your next DIY plant project?